
Hubby said, "no way."
Instead, I chose to hear, "Let's tear down the wallpaper in the kitchen!"
Then... "But the wallpaper is neutral and not offensive at all!" he argues.
One of the voices in my head responds, "Yeah...but wallpaper in and of itself is offensive...."
The wife was willing, but the husband was
And so the kitchen renovation begins. I wish I had taken more close-ups of the before shots, but at the time, I had NO idea how huge this project was going to become....
The Before.


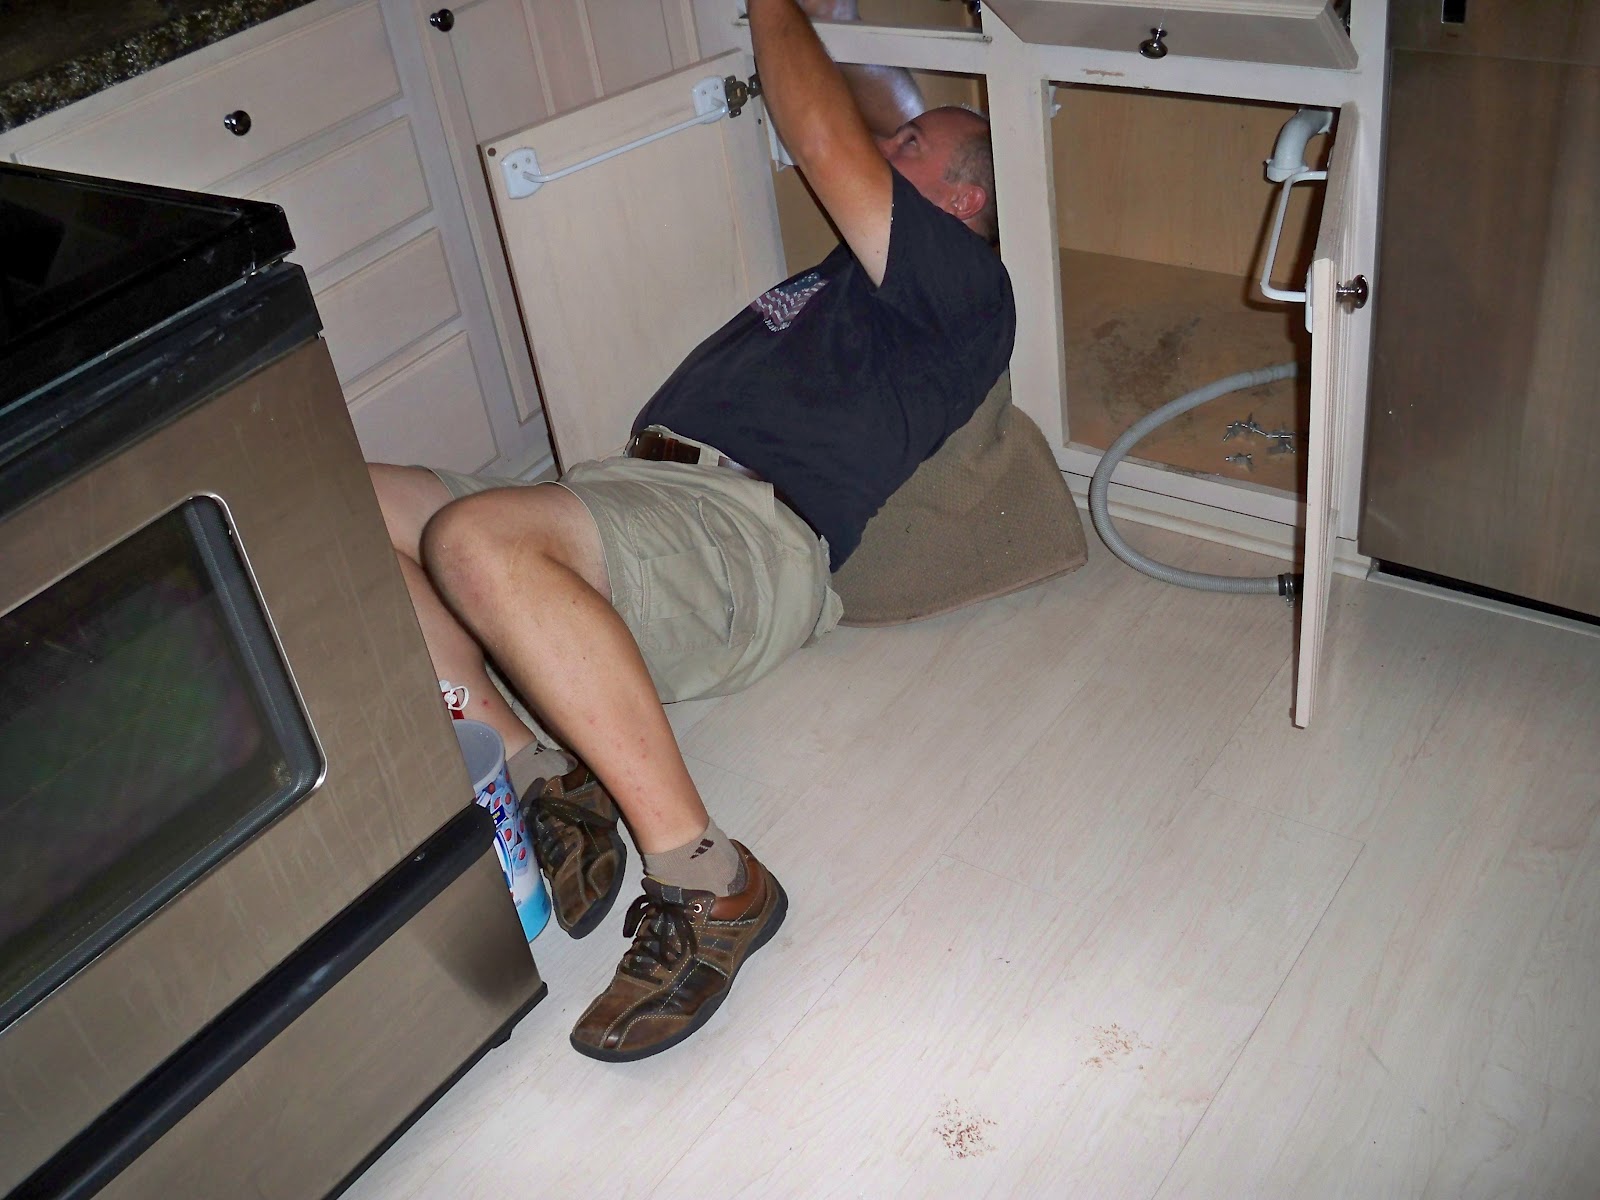
The Teardown.
We spent 4 days tearing down wallpaper, chair rail, patching drywall, and finally, repainting.
Wallpaper. Freaking. Everywhere.
(But check out Super-Hubby up there doing the I-love-you-but-I-want-to-kill-you work!!!)


When we were finished, it looked SOOO much better, but I felt it was still missing quite a bit in the way of style.


The Dilemma.
I really wanted to put up a tile backsplash, knowing that would really make the kitchen pop, but at the same time, I didn't want to "marry" our outdated countertops to the tile (plus, I didn't want all the expense and WORK of tile). I did lots of Googling, and came across a couple sites where folks had painted their backsplash to LOOK like tile...they were amazing!
And another genius who followed the tutorial above and created this!
SO...My incredibly tolerant and supportive hubby (Philly) suggested we get one 4x8 section of drywall, cut it into sections to fit INTO the backsplash area, and practice on it. He cut the pieces for me and even helped his Polish wife (yes, I really am Polish--insert joke here) by making sure I painted the CORRECT side of the drywall.

I measured, taped off, and painted!


Finally I pulled off the tape and rested the piece of drywall on the (fugly) countertop backsplash, and stood back and admired my ingenuity.

Not bad for a first attempt, but I knew I needed to change up the colors just a bit. Some were a bit too gray, and I wanted more warm browns.
Anyhoo, I painted the backsplash area a nice "grout" color, and measured and taped off. (Yes, hubby removed the microwave and stove for me so I could do it right...)


Note to self (and others): do NOT set your cappuccino where your errant elbow can knock it down and make it sploosh everywhere. It looks like I severed my jugular. I did not.

I painted and painted and painted.


Now I realized that (if possible) the countertops looked even UGLIER than before. Shock and Horror...We must do something about THAT.
At this point, Hubby is beginning to lose patience with me.
We researched purchasing new (cheap) laminate. Rustoleum Transformations. The list goes on.
Once again, I think, "Nuh uh...there's gotta be
http://generalsplendour.blogspot.com/
http://www.creativekristi.com/
The Patience-Losing Husband.
So, after removing my husband's hands from around my throat, the next trial-and-error-and-error-and-error project begins with a lowly old piece of laminate. I tried and tried, and could NOT get the look I wanted. Seriously. I came up with about 15 different iterations before I was finally happy. Thankfully, all but ONE of these attempts had no serious repercussions.
The one that DID was the actual piece of countertop from our kitchen (below) that Hubby had sanded for me, and I painted about 3 different times. The "final" attempt (which I still hated) was going to be the LAST. I thought if I clear-coated it, it just might improve the look. Wrong. Now, instead of just looking like poo, it looked like shiny poo.
 |
| Philly sanding for me (the first time---above). On the deck. In the dark. (Yes, he insisted on removing the countertops for me insteadof taping off and working on them where they sit.) LOVE him!! |
And here's after the "final" painting and clear-coating. HORRIBIBBLE. Shiny The Poo. Oh, Bother is right!!!

Here's the really awful thing. After clear-coating Shiny The Poo and realizing it was still disastrous, Philly had to re-sand that piece. The paint (and clear-coat) hadn't fully cured, so it just turned to gooey mush when he used the belt sander. So, out came the drill and wire wheel (which at one point sort of got away from him, but no worries...his belly caught it and took a bite out of him, but it didn't escape).
The Disaster:


Well, finally, finally, finally I decide on a technique. I really don't know if I love it, but I DO know it's better than it was before. We sanded and prepped.
This is a little reminiscent of "Poltergeist" when the tree eats the little boy...and that movie terrified me as a child....(He's taking the countertops apart and pulling them away from the wall.) I dragged him out of the Jaw of Cabinet to safety, and we continued...

After sanding and priming with Kilz:

Then painting all surfaces with semi-gloss black:

Eddie helping:

Adding first set of colors (using a sea sponge for all):


Adding second set of colors:


Third set of colors:


Philly putting Humpty Dumpty back together again...
After coating the "tile" with a matte-finish poly-acrylic, and coating/sanding the countertops with a gloss-finish poly-acrylic...(I even painted the switchplates a nice metallic color called caramel latte...)
Voilà!! La cuisine, c'est fini! (for now...)


The pictures really don't do it justice. I'm so happy with this project and I wish I hadn't waited so long to try it out!!
BEFORE:
AFTER:
BEFORE:
AFTER:

This is AMAZING!!!!! Thank goodness you have a good sense of humor and a patient husband :) The outcome is beautiful and refreshing!
ReplyDeleteGreat job! And I love the final results of the counters!
ReplyDeleteI say go for it...do a lot of research on different methods...There's a lot out there! I used 3 coats of water-based poly...I would recommend doing at least 6 to make it more durable!
Delete